![Logo-2.svg]](https://support.pointapp.org/hubfs/Logo-2.svg)
Where to find it
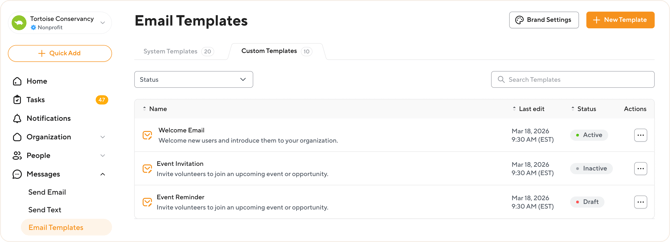
- Go to Messages → Email Templates.
- You'll see two tabs: System Templates, which are built-in templates POINT sends automatically for things like event reminders and application updates, and Custom Templates, which are templates you create yourself.
- Click New Template in the top right to create one.
Basic Info
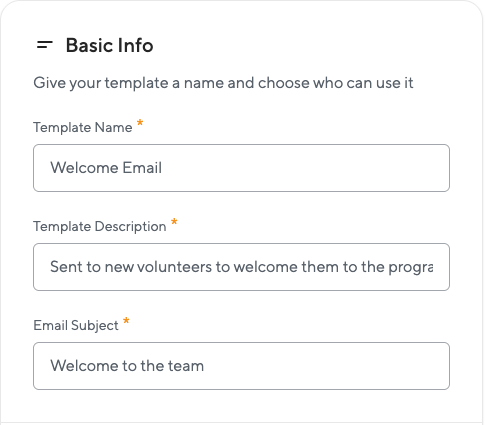
Give your template a name, description, and subject line:
- Template Name (required). Used internally to identify the template in your list.
- Template Description (required). A short note describing what the template is for.
- Email Subject (required). This is what recipients see in their inbox.
Branding
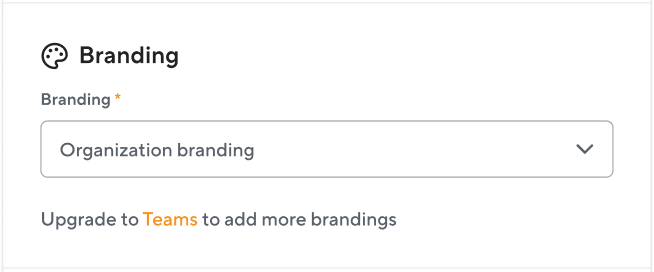
This is where you choose which branding applies to the email. What you see here depends on your plan:
- Pro plan. Only Organization Branding is available, since Pro doesn't support program-specific branding. You'll see a note: "Upgrade to Teams to add more brandings."
- Teams plan. The Branding dropdown lists Organization Branding along with any program-specific branding you've created. Choose whichever one fits this template.
Whichever branding you select controls the logo, colors, and footer shown in the Email preview on the right, and in the emails sent with this template.
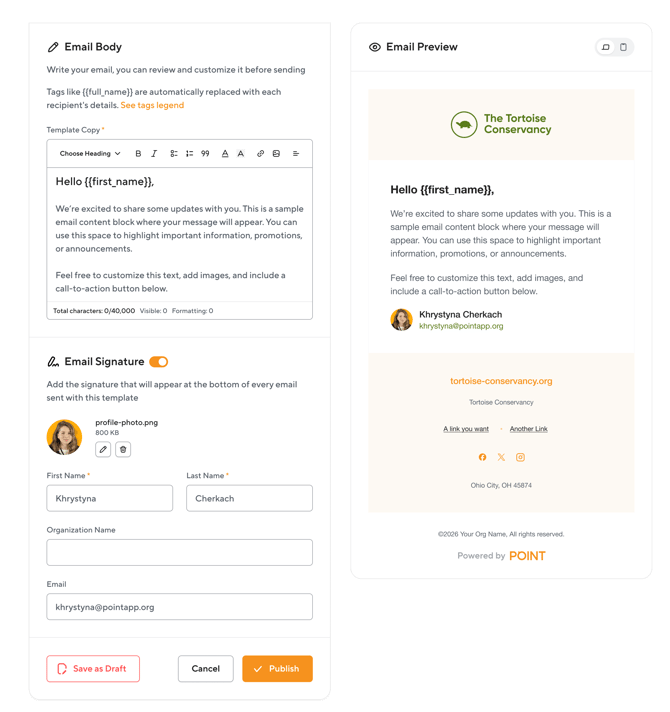
Email Body
Write your message in the rich text editor. You can format text, add links and images, and insert tags that are automatically replaced with each recipient's details when the email is sent.
Click See tags legend to view the available tags:
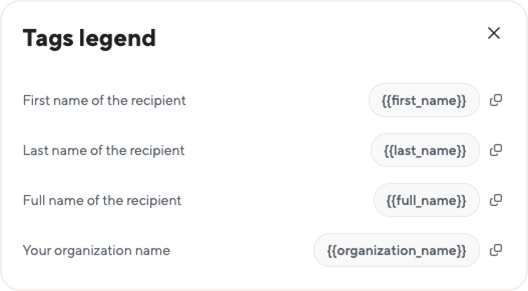
To use a tag, either type it directly into the editor or click the copy icon next to it in the Tags legend, then paste it where you want it to appear. For example, if you write the recipient's first name tag in a greeting line, each volunteer sees their own name in place of the tag, so John sees "Hello John," and Maria sees "Hello Maria,".
Email Signature
Toggle this on to add a signature that appears at the bottom of every email sent with this template. You can include a photo, first and last name, organization name, and email address.
Saving your template
- Save as Draft. Saves your progress without making the template available to send.
- Publish. Makes the template active and available in the Email Template dropdown when sending emails.
- Cancel. Discards changes and returns to the template list.